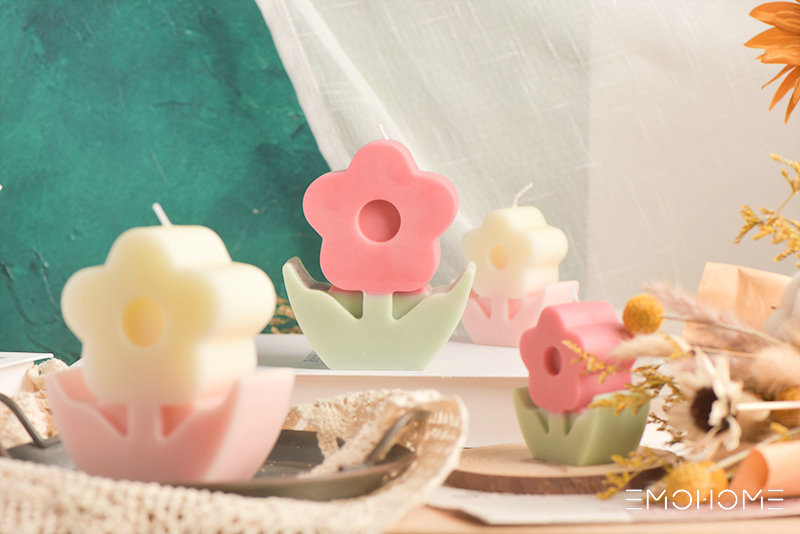
Analysis of the production process and steps of wedding candles
1. Cut the white wedding candle into segments (be caref […]
1. Cut the white wedding candle into segments (be careful not to cut the cotton wick), pull out the cotton wick, and break the craft candle segments. Get some colored crayons ready.
2. Heat the wedding candle in a pot and melt the craft candle. Add crayons to melted wax for toning, depending on the depth of color you like. Generally speaking, lighter colors are better. Gently shake the pan to melt the crayon color into the wax. Sprinkle a few drops of perfume on the wax.
3. Pour colored candles into prepared molds, highly customizable. If it's a homemade mold, be careful not to leave gaps to prevent the candle wax from running out.

4. Put one end of the pre-knotted cotton wick on the toothpick (the toothpick can prevent being scalded by the craft candle liquid, and the position of the cotton wick can be adjusted). Put the other end into the craft candle to adjust the color and wait for the craft candle to solidify.
5. If you want to make craft candles in several colors, you can pour them into the mold layer by layer. After the first layer is cured, the second layer is inverted, and so on.
6. After the colored craft candle is completely solidified, the mold is torn open and the extra candle wick is cut off to make a fragrant colored craft candle. Note: Do not pour the wax water from the rest of the craft candles into the sewer, or the sewer will be blocked. Pour it on a piece of paper, set it and throw it away. Also, the cotton wicks on craft candles shouldn't stay on for too long in case the flame is too big to be dangerous when lit.

 ENG
ENG  España
 русский